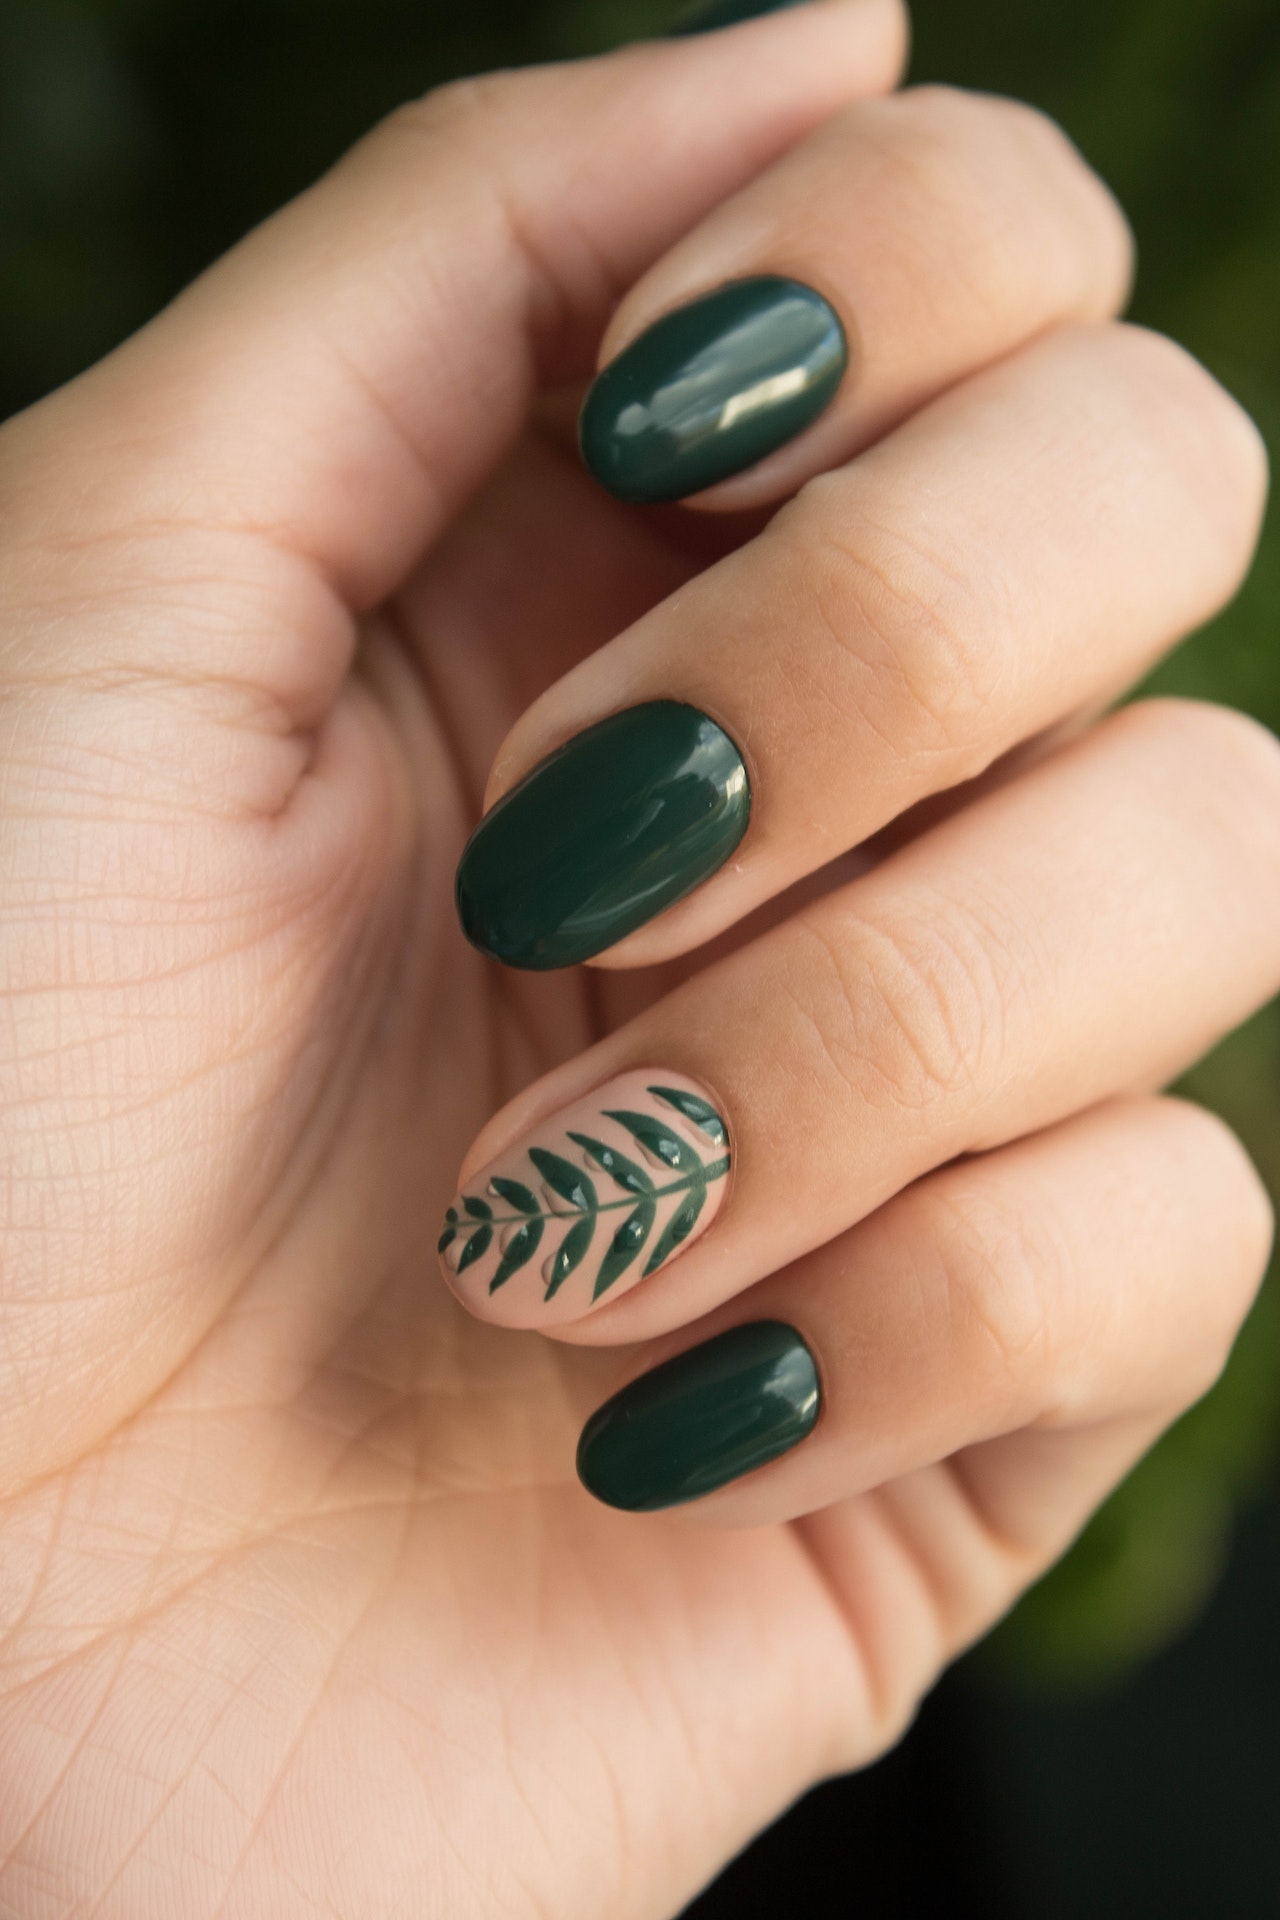
I’ve recently discovered the joy of the nail art stamp, and I’m completely and utterly hooked! My first few tries were somewhat frustrating and only partially successful, but I learned a few interesting things along the way. I thought I would share some of what I’ve learned, just to make it easier for someone else out there who might be searching for answers, tips, and tricks on how to stamp nail art without streaks, smears, or partial images.
Nail Polish and Nail Art Stamps
Ordinary Polish or Stamping Polish?
Some experts will suggest using only stamping polishes, like the special Konad polish, but from what I’ve seen it’s not really necessary. The only exception is when you’re trying to stamp using a fairly opaque or light color. Light colors should be thicker so they can stand out against the base polish. That said, the subtle effect of an ordinary light-colored polish can be fabulous. The picture below is a good example of that.
Polish Tips and Tricks
Also, when you apply the polish, you don’t have to cover the whole image. Just dab some polish alongside the image you want to use and then use the scraper to distribute it over the design. You can save quite a bit of nail polish doing it that way. This is another handy tip for when you stamp nail art in different colors: You can do gradients or even use two or more colors in a single design. Just ensure that you dab the colors in the right places and scrape in a direction that won’t ‘mix’ the polishes or ‘overlap’ them.
Scraping The Image Plate
This is where I made some of my biggest mistakes when I tried to use a stamping nail art kit for the first time. I was trying to be meticulous and get every last trace of nail polish off the plate. This meant I was scraping twice, sometimes three, times before applying the image to the stamp. Scraping twice is a bad idea in my experience because it takes so long that the polish starts to dry on the plate, and also, you’re left with a much ‘thinner’ image. Scrape once, and leave it at that, even if there are some polish streaks on the plate.
Scraping Tips and Tricks
You could use a plastic card to scrape the plate instead of a metal-edged scraper. Doing this means you won’t scratch the plate quite as much. Use a quick and firm motion when scraping, this will help get as much of the polish off as possible, without compromising the ‘image’.
Transferring The Image and Stampers
The quality of your nail art stamp determines the result you get, so it’s best to invest in one that is of a good quality. I’ve seen YouTubers complain of partial images etc when using ‘firmer’ stamps, so if you’re unsure, invest in a real Konad one, or get one from a reputable manufacturer.

